
Handwritten Blogging Guide
อัปเดตล่าสุด:3/14/2026
Handwritten Blog Mode provides you with a pure creative space. You can start writing articles from scratch and deeply utilize the system's AI-enhanced tools for post-optimization.
1. Launching Creation
• Entry: Go to the “Blog List” page and click the “Handwritten Blog” button in the top-right corner to open the blank editor.
2. Core Editor Features
On the blank canvas, you can directly input content and utilize the right-side toolbar for enhancements:
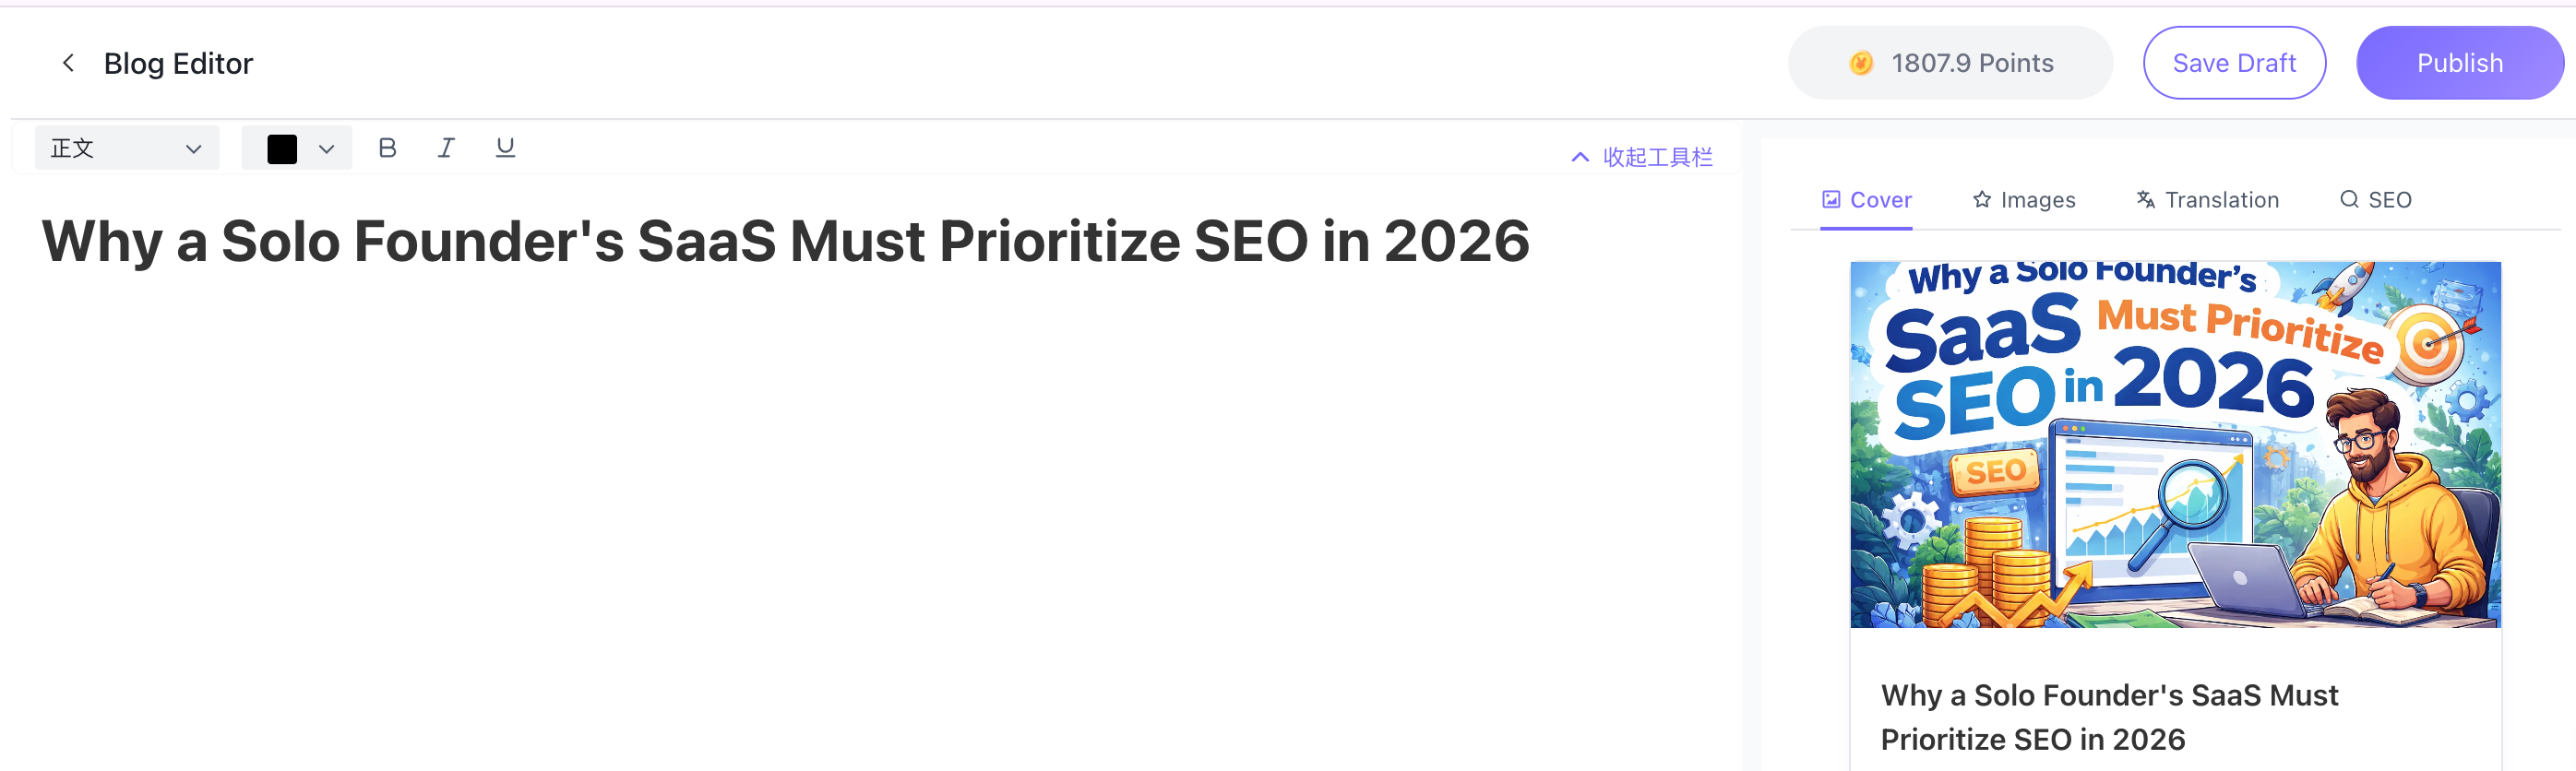
• AI Cover & Images: AI Configuration: Enter descriptive text to generate original covers.
• Image Search & Upload: Retrieve from the gallery or upload local assets. Click the “heart” icon to save to your favorites library for reuse.
• Multilingual Translation: After writing, instantly translate to any of 44 languages.
• Smart SEO: Click the “SEO” tab to automatically generate Meta Title and Description based on your handwritten content.
• Instant Saving: Click “Save Draft” in the top-right corner to sync your progress to the cloud in real time.
3. Publishing Process
• Self-Check Reminder: After clicking “Publish,” the system displays the completion status of each section. Even if information isn't fully completed, you can still click “Continue Publishing.”
• Custom URL: In the publishing pop-up, click “AI-Generated Slug” to have the system match your handwritten title with the most crawl-friendly path.
• Flexible Publishing: Click publish to sync content to your site.