Standard Blog Writing Guide
最後更新:3/20/2026
Regular blogging is one of SEONIB's core content creation modes. It's ideal for generating in-depth, long-form, SEO-optimized professional articles when you have clear keyword targets.
1. Use Cases
• SEO Keyword Ranking: Achieve comprehensive coverage for specific industry terms.
• Product encyclopedias and reviews: Craft detailed introductions or comparative articles around your own products.
• Brand content development: Build a professional corporate blog library to boost off-site organic search traffic.
2. Operation Steps
Step 1: Access the Creation Portal
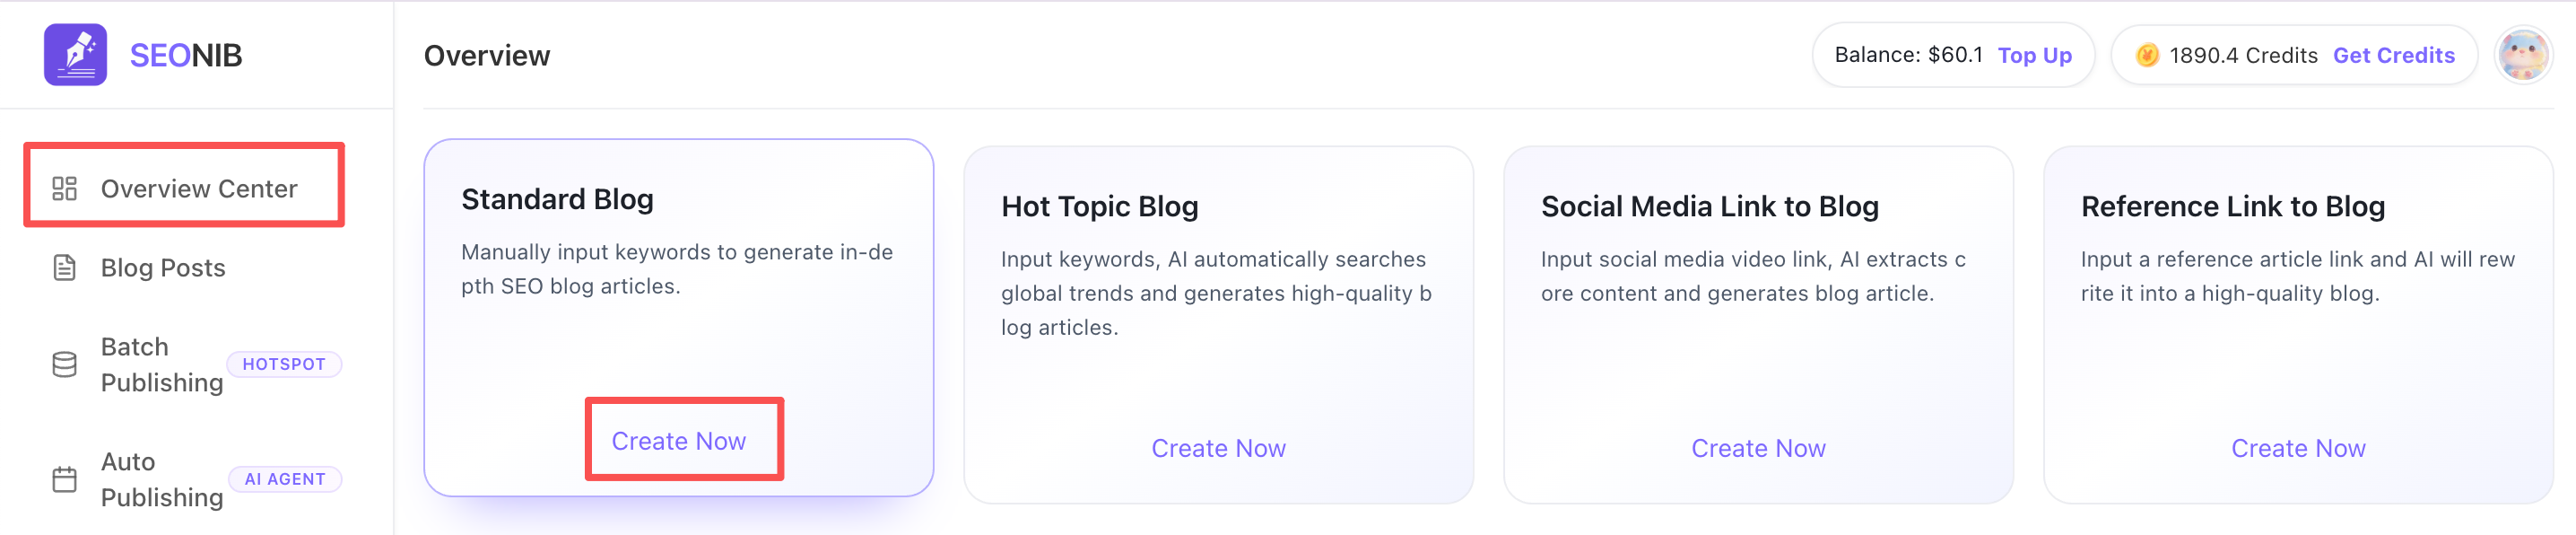
1. Log in to the SEONIB dashboard.
2. Click “Overview Center” in the left menu, then click “Create Now” on the “Regular Blog” card.
Step 2: Configure Content
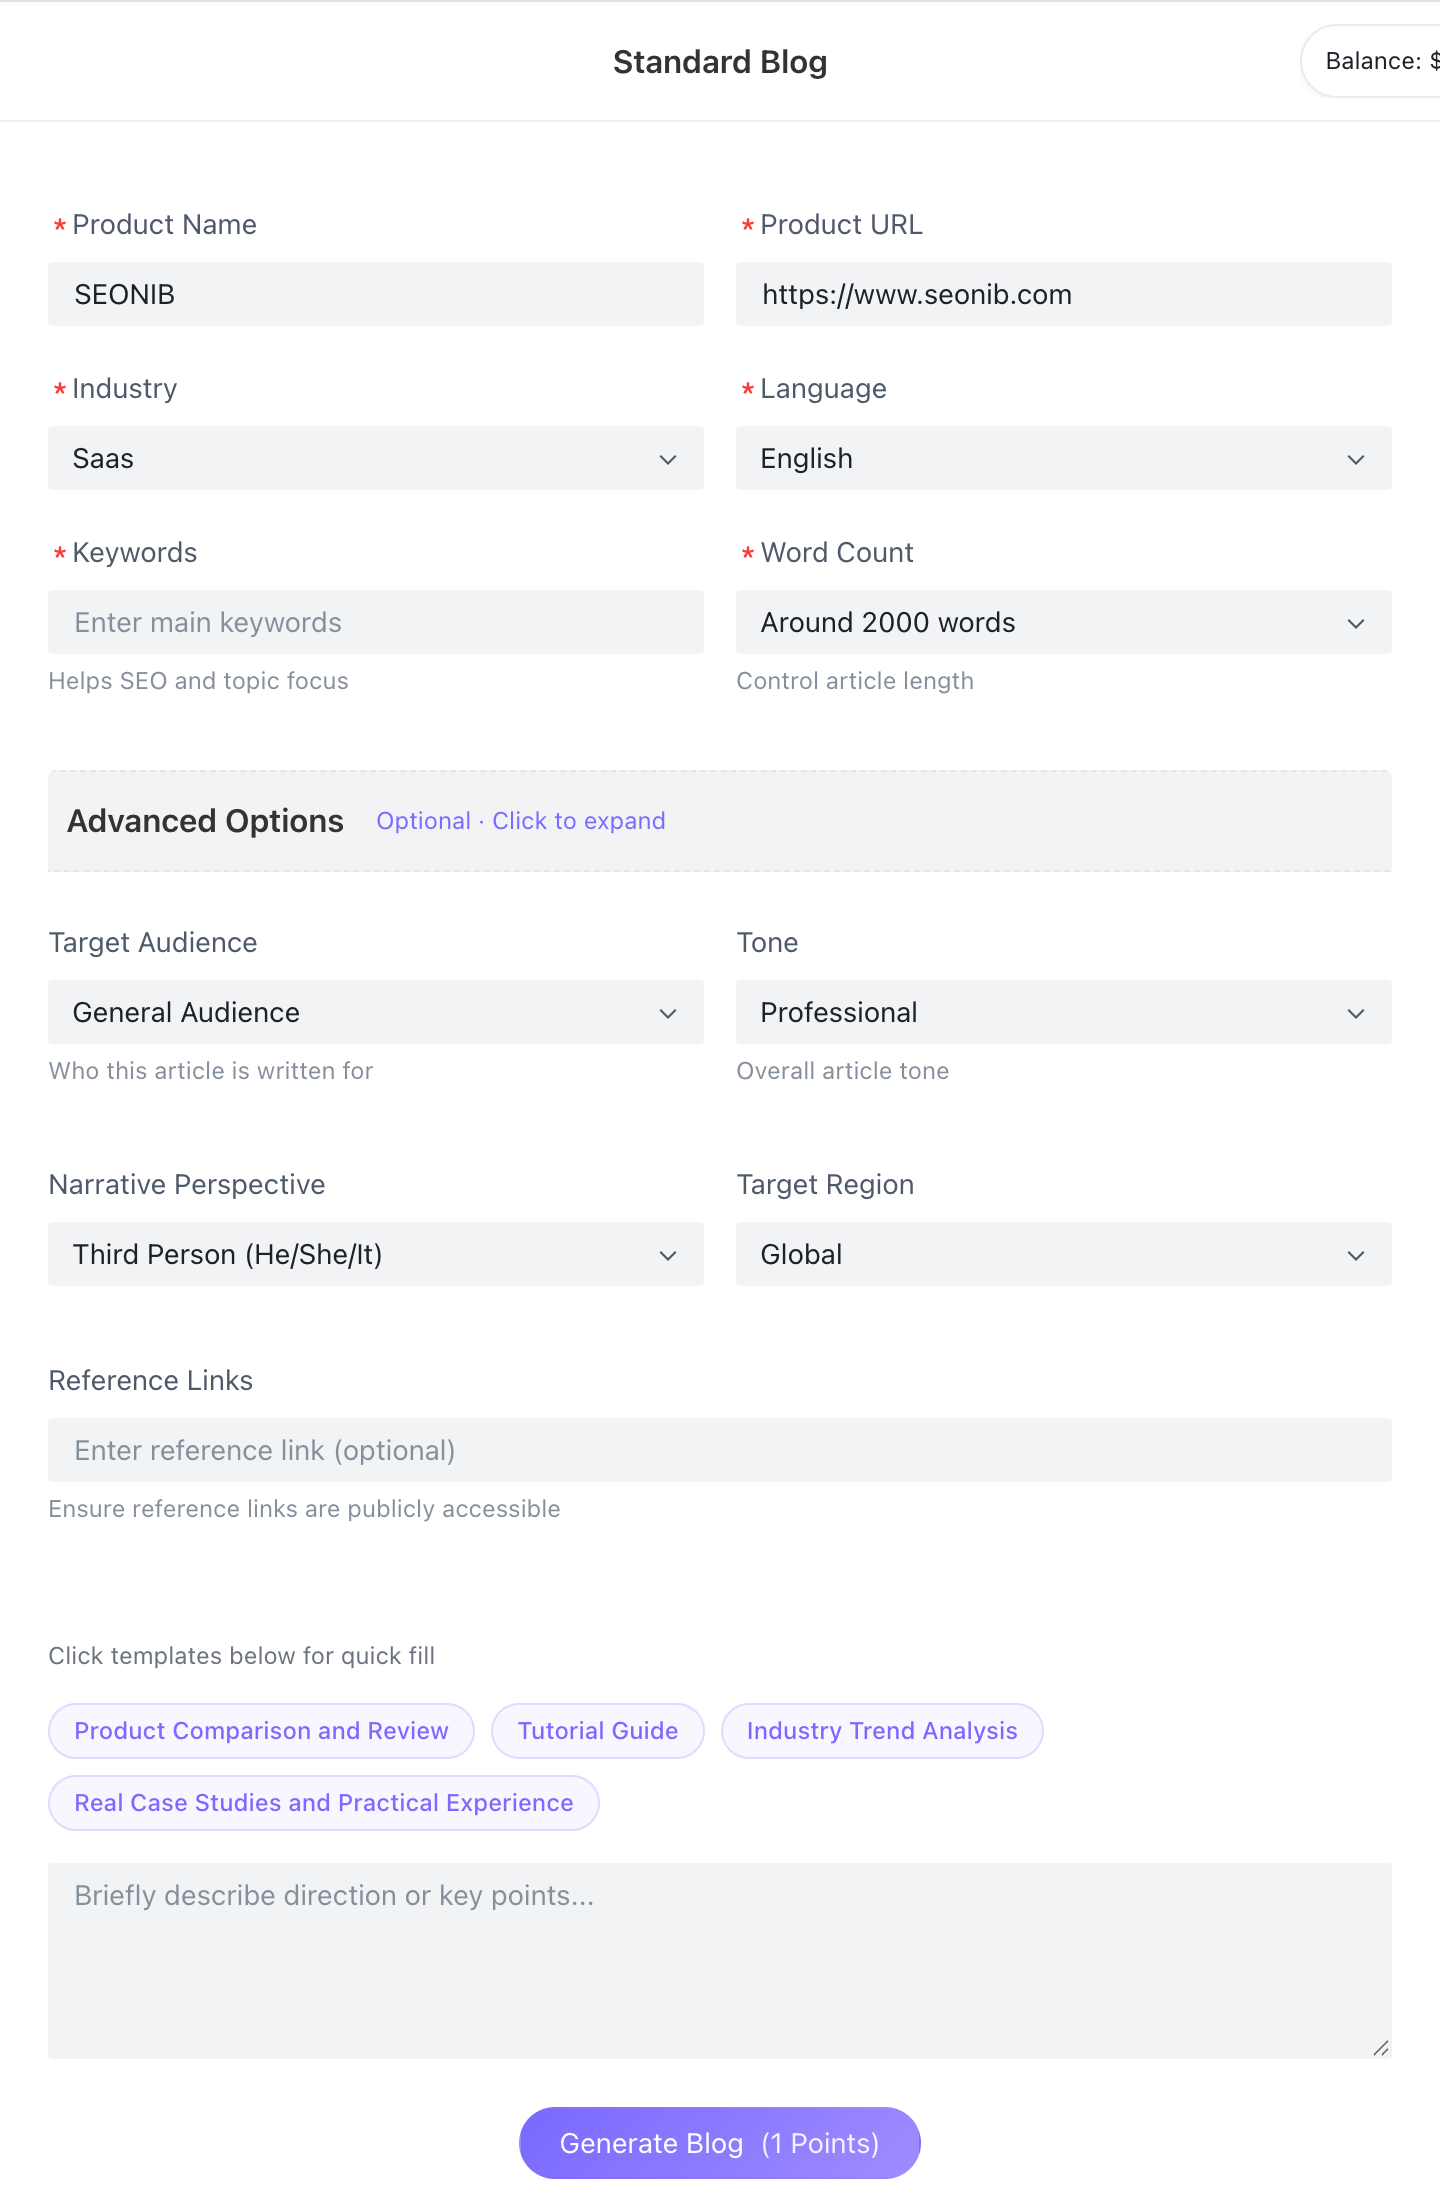
On the generation page, you must provide the following core information to ensure content aligns with your brand requirements:
•1. Basic Information: Enter the product name (e.g., SEONIB), product link, industry category, and target language.
•2. Content Focus: Input 1 primary keyword and select the desired article length (e.g., approximately 2000 words).
•3. Advanced Options
◦Target Audience: Select audience type (e.g., general readers).
◦ Tone & Perspective: Set the article tone (e.g., professional/formal) and first/third-person viewpoint.
◦ Target Region: Specify the specific global region the content targets.
• 4. Quick Templates: Click templates below (e.g., “Product Comparison & Review,” “Industry Trend Analysis”) to quickly populate content directions.
• 5. Confirm Generation: After verifying accuracy, click “Generate Blog” at the bottom.
3. Post-Editing and Publishing Checks
After your article is generated, you'll enter a powerful blog editor. Beyond basic text tweaks, the right-hand panel offers four key enhancement tools:
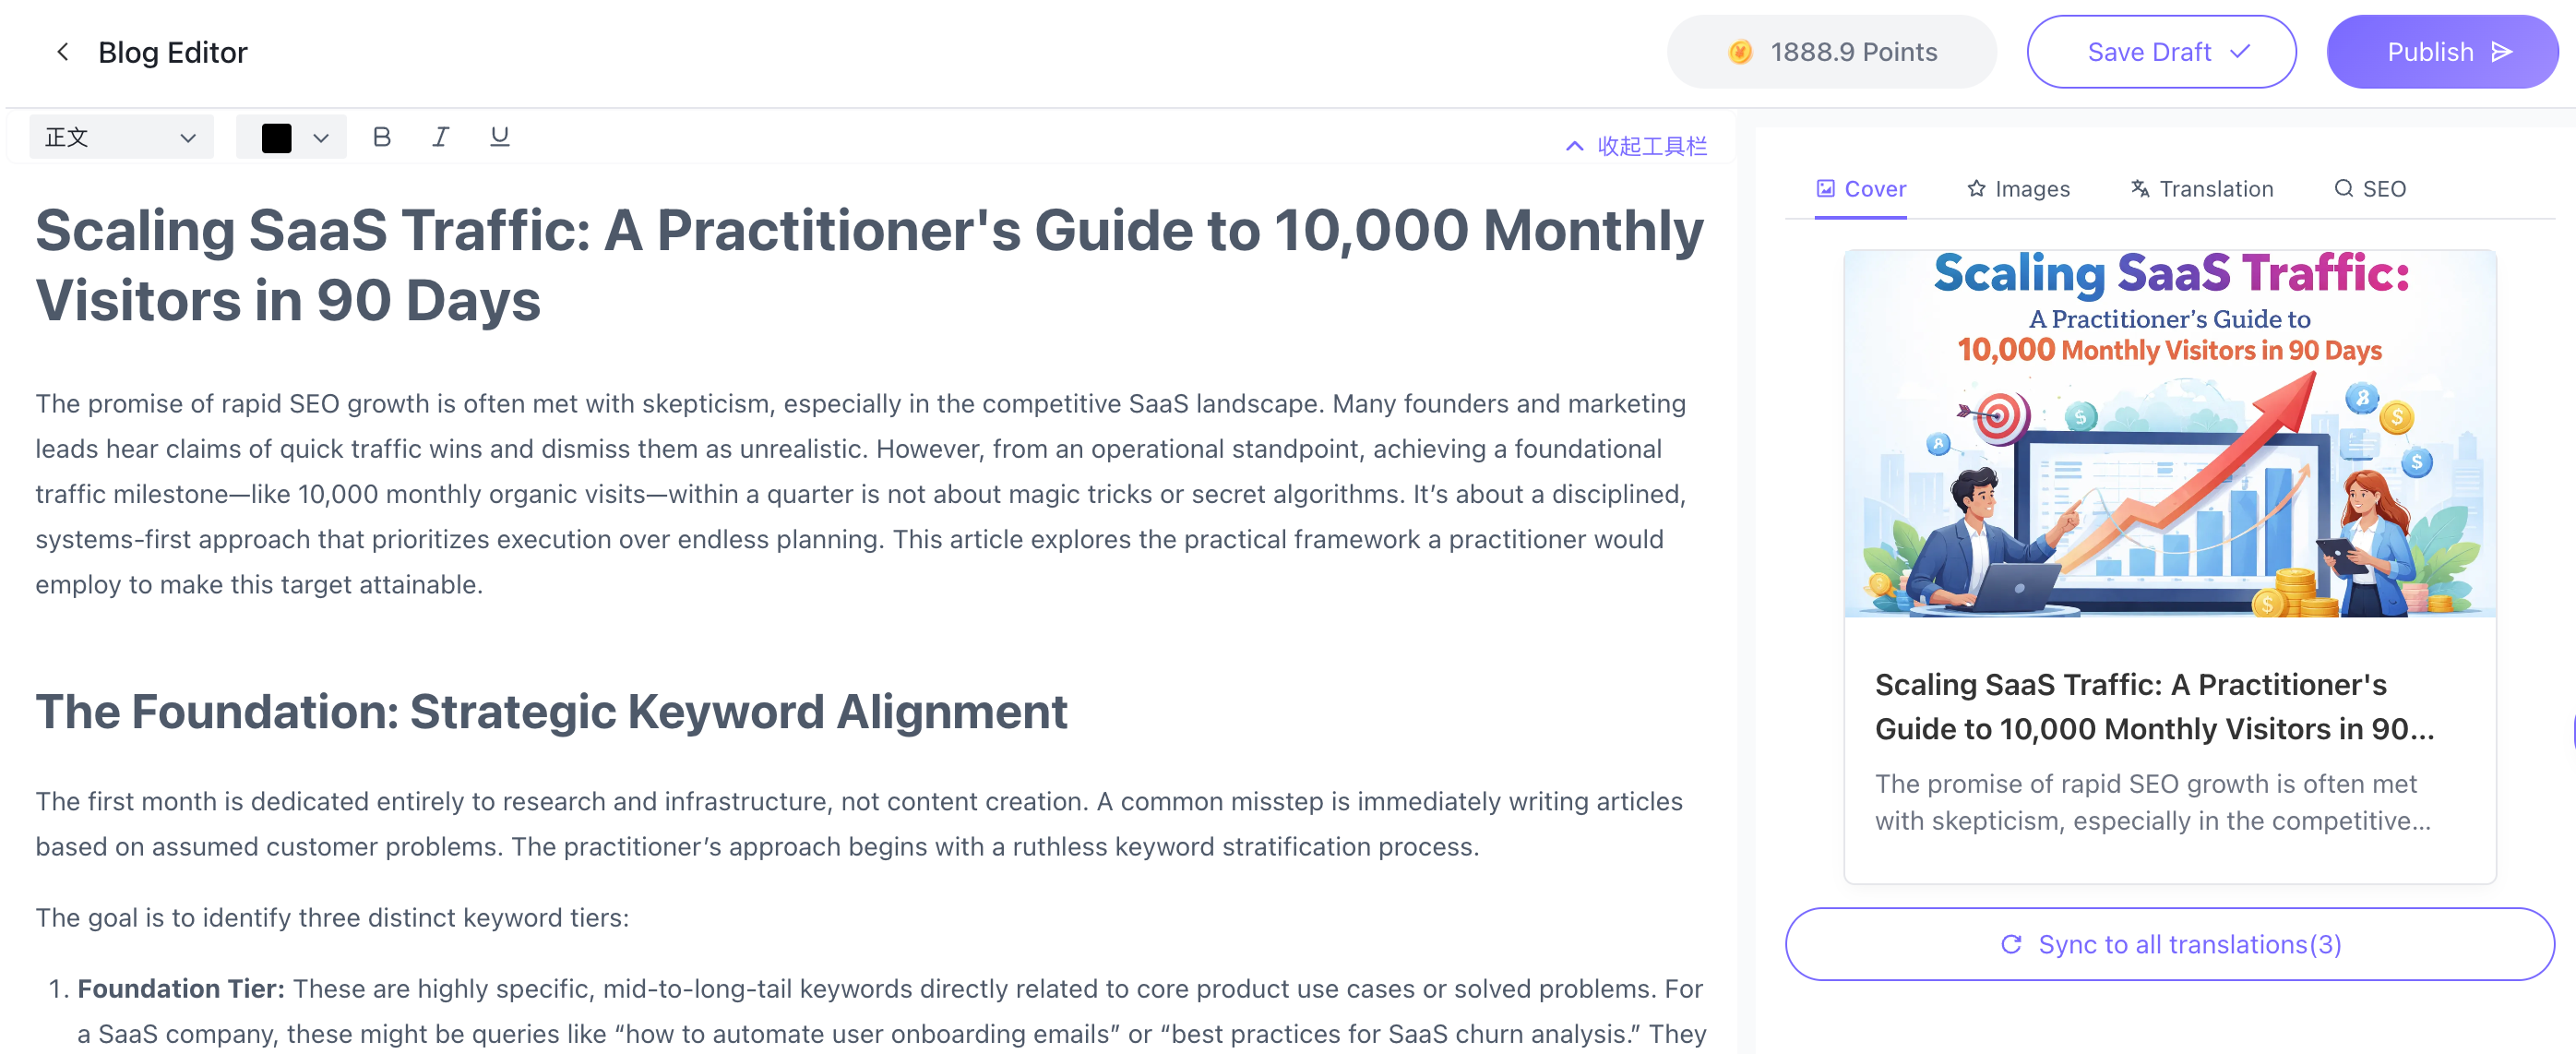
1. AI Cover
• AI Cover: The system generates high-quality cover images based on your article's theme, enhancing your blog's visual appeal.
2. Smart Illustrations
• Illustration Generation: Under the “Illustrations” tab, generate AI-created relevant illustrations for your content.
• Illustration Upload: Supports uploading local images. Click the icon in the top-right corner of an image to save it to the “Favorites” tab for quick reuse in future projects.
• Illustration Search: Enter keywords to search through a vast library of assets. Select an image and click “Smart Insert” to add it to your post. Click the “Heart” icon to add it to your private collection.
3. Multilingual Translation (Supports 44 Languages)
• Global Distribution: Click the “Translate” tab to instantly translate posts into 44 major languages including English, Japanese, and French.
4. Smart SEO & Translation Capabilities
• Auto-Generation: Click the “SEO” tab to automatically generate Meta Title and Description optimized for search algorithms.
• SEO Translation: When translating your content, the system synchronously translates SEO metadata to ensure optimal visibility for your multilingual versions in local search engines.
5. Save Drafts
• Drafts appear in your blog list with a draft status after saving.
5. Pre-Publishing Checks 💡
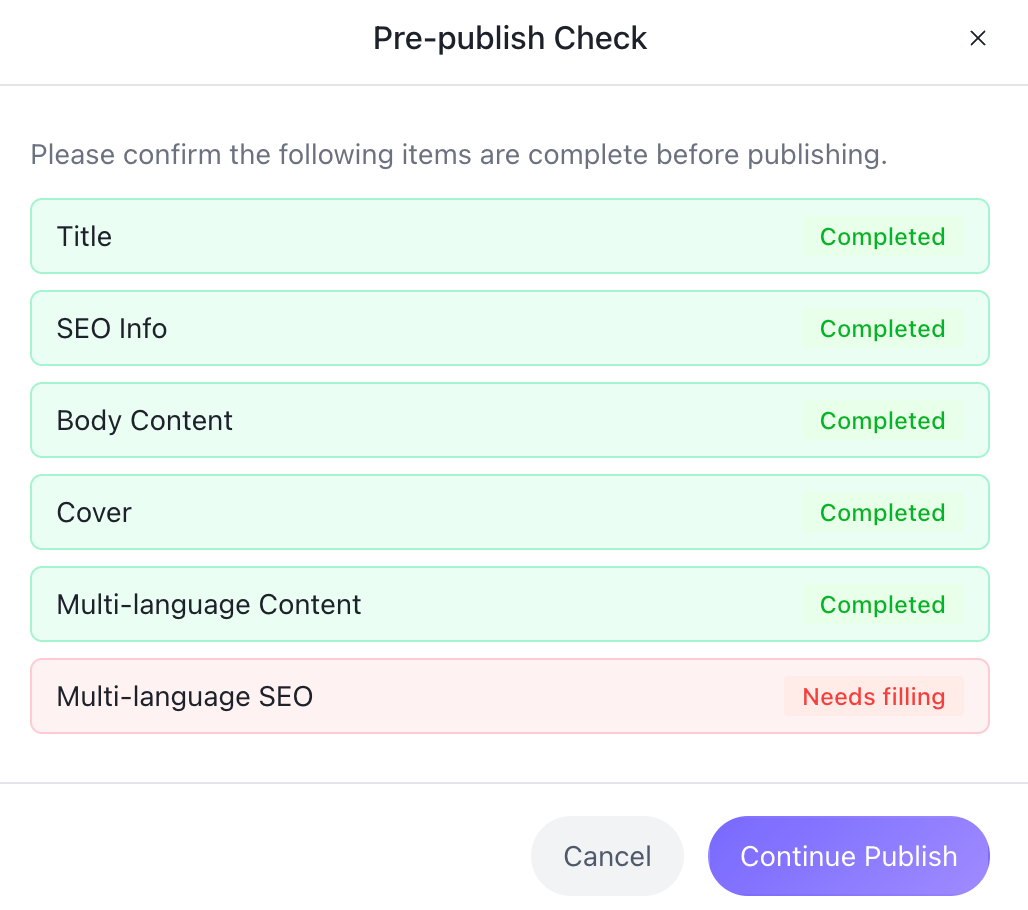
Pre-publication Self-Check (Recommended): Before publishing, the system will display the completion progress for items like title, SEO, body text, and cover image.
• Non-mandatory reminder: This window serves only as a quality control reference. Even if translations are missing or SEO elements are incomplete, you can still click “Continue Publishing.”
4. Multi-Channel Publishing
• Custom Slug (URL): Supports setting custom paths for articles. We recommend clicking “AI Generate”—the system will produce the most SEO-friendly URL based on the title.
• Multi-Channel Selection: Flexibly choose integrated channels during publishing (e.g., WordPress, Shopify, Shopline, HTTP API, or “My Site”), supporting one-click multi-channel distribution.

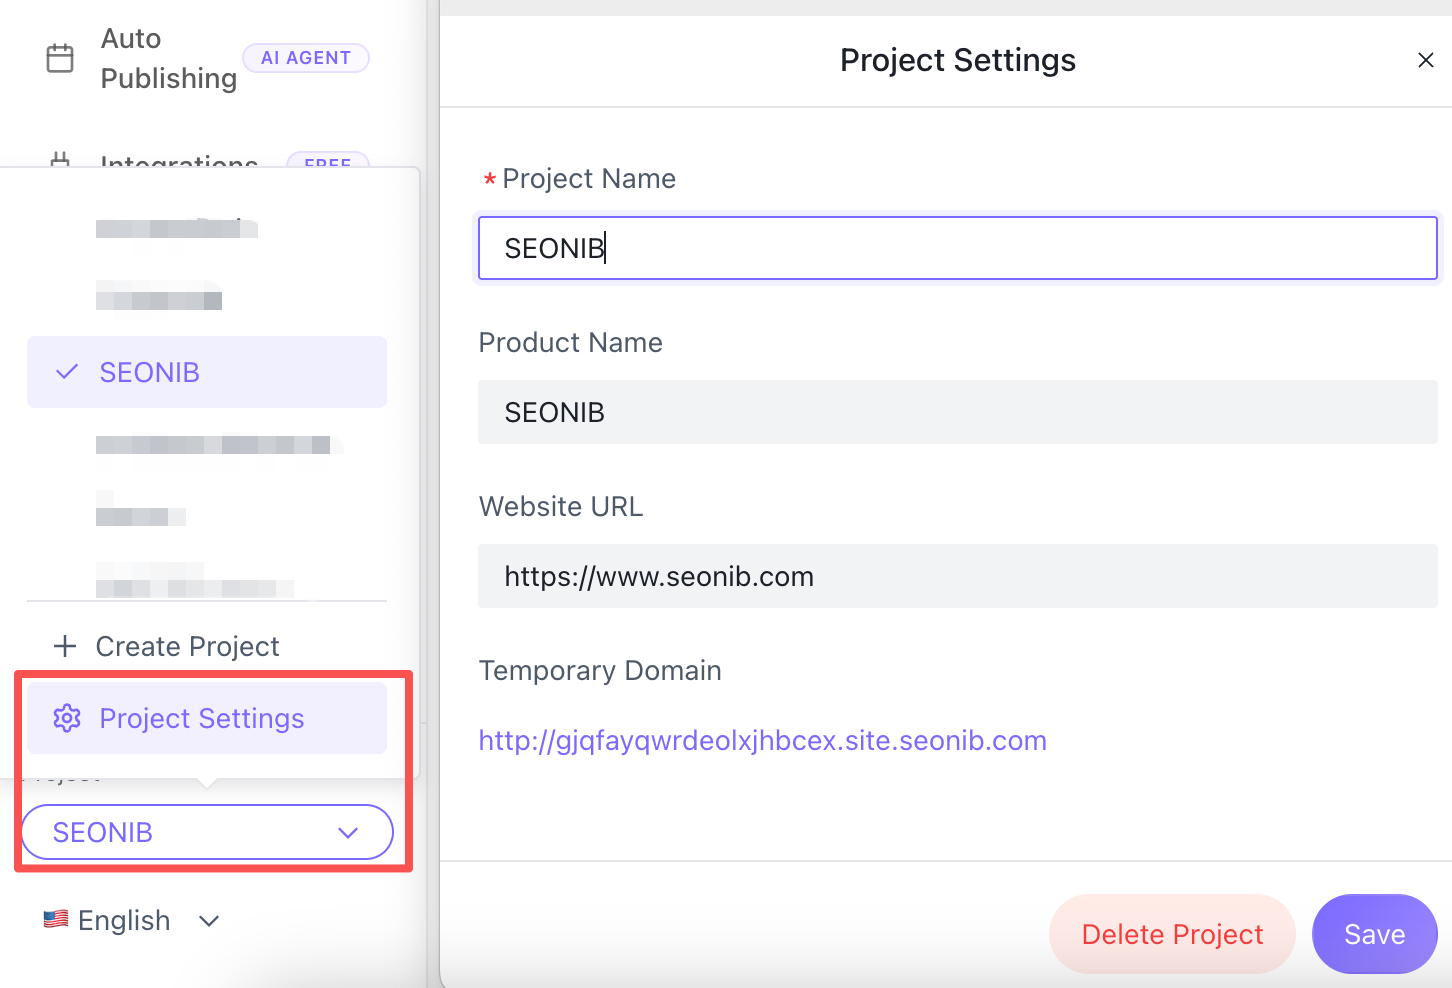
Note: Hidden Capability Supplement
Before beginning your creation, we recommend completing your project configuration first. Once configured, the system will automatically populate the “Product Name” and “Product Link” fields whenever you create a new blog.
• How to configure: Locate the “Project” toggle in the bottom-left corner of the sidebar. Click the “Project Configuration” button. In the pop-up window, accurately enter your Product Name and Official Website Link, then save.
• Auto-populate effect: Subsequently, whenever you enter the “Blog” generation page, these two required fields will automatically populate, eliminating the need for manual re-entry.